

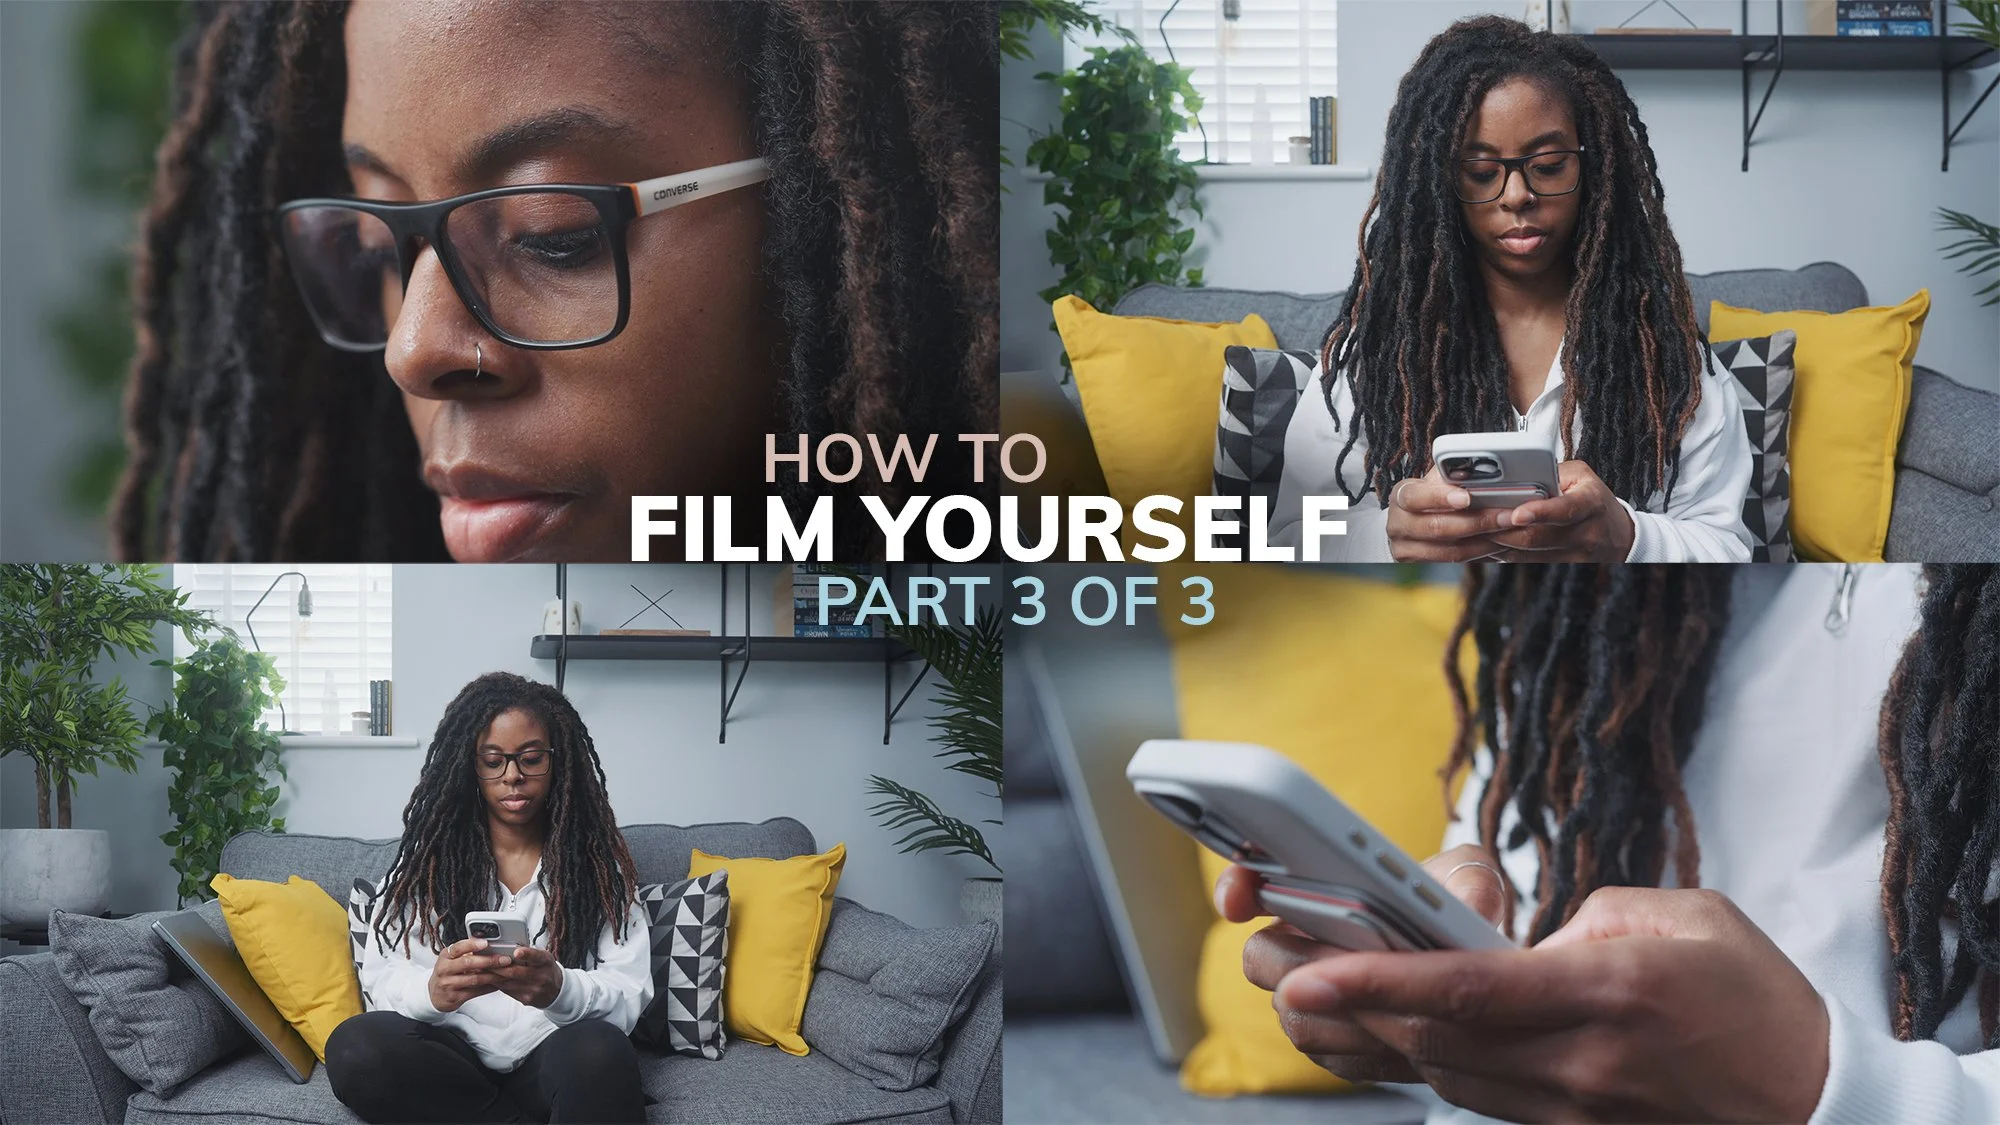
WATCH THE THREE-PART SERIES
HOW I EASILY FILM MYSELF
I put this series together to pull back the curtain on how I film myself for my YouTube videos, but I’ll also be adding one or two more videos that show the specifics of how I film myself when vlogging outdoors in public, especially in busy environments.


THE GEAR
EVERYTHING I USED IN THE VIDEOS
(The links below are affiliate links, so I will earn a small commission at no extra cost to you if you make a purchase.)
-
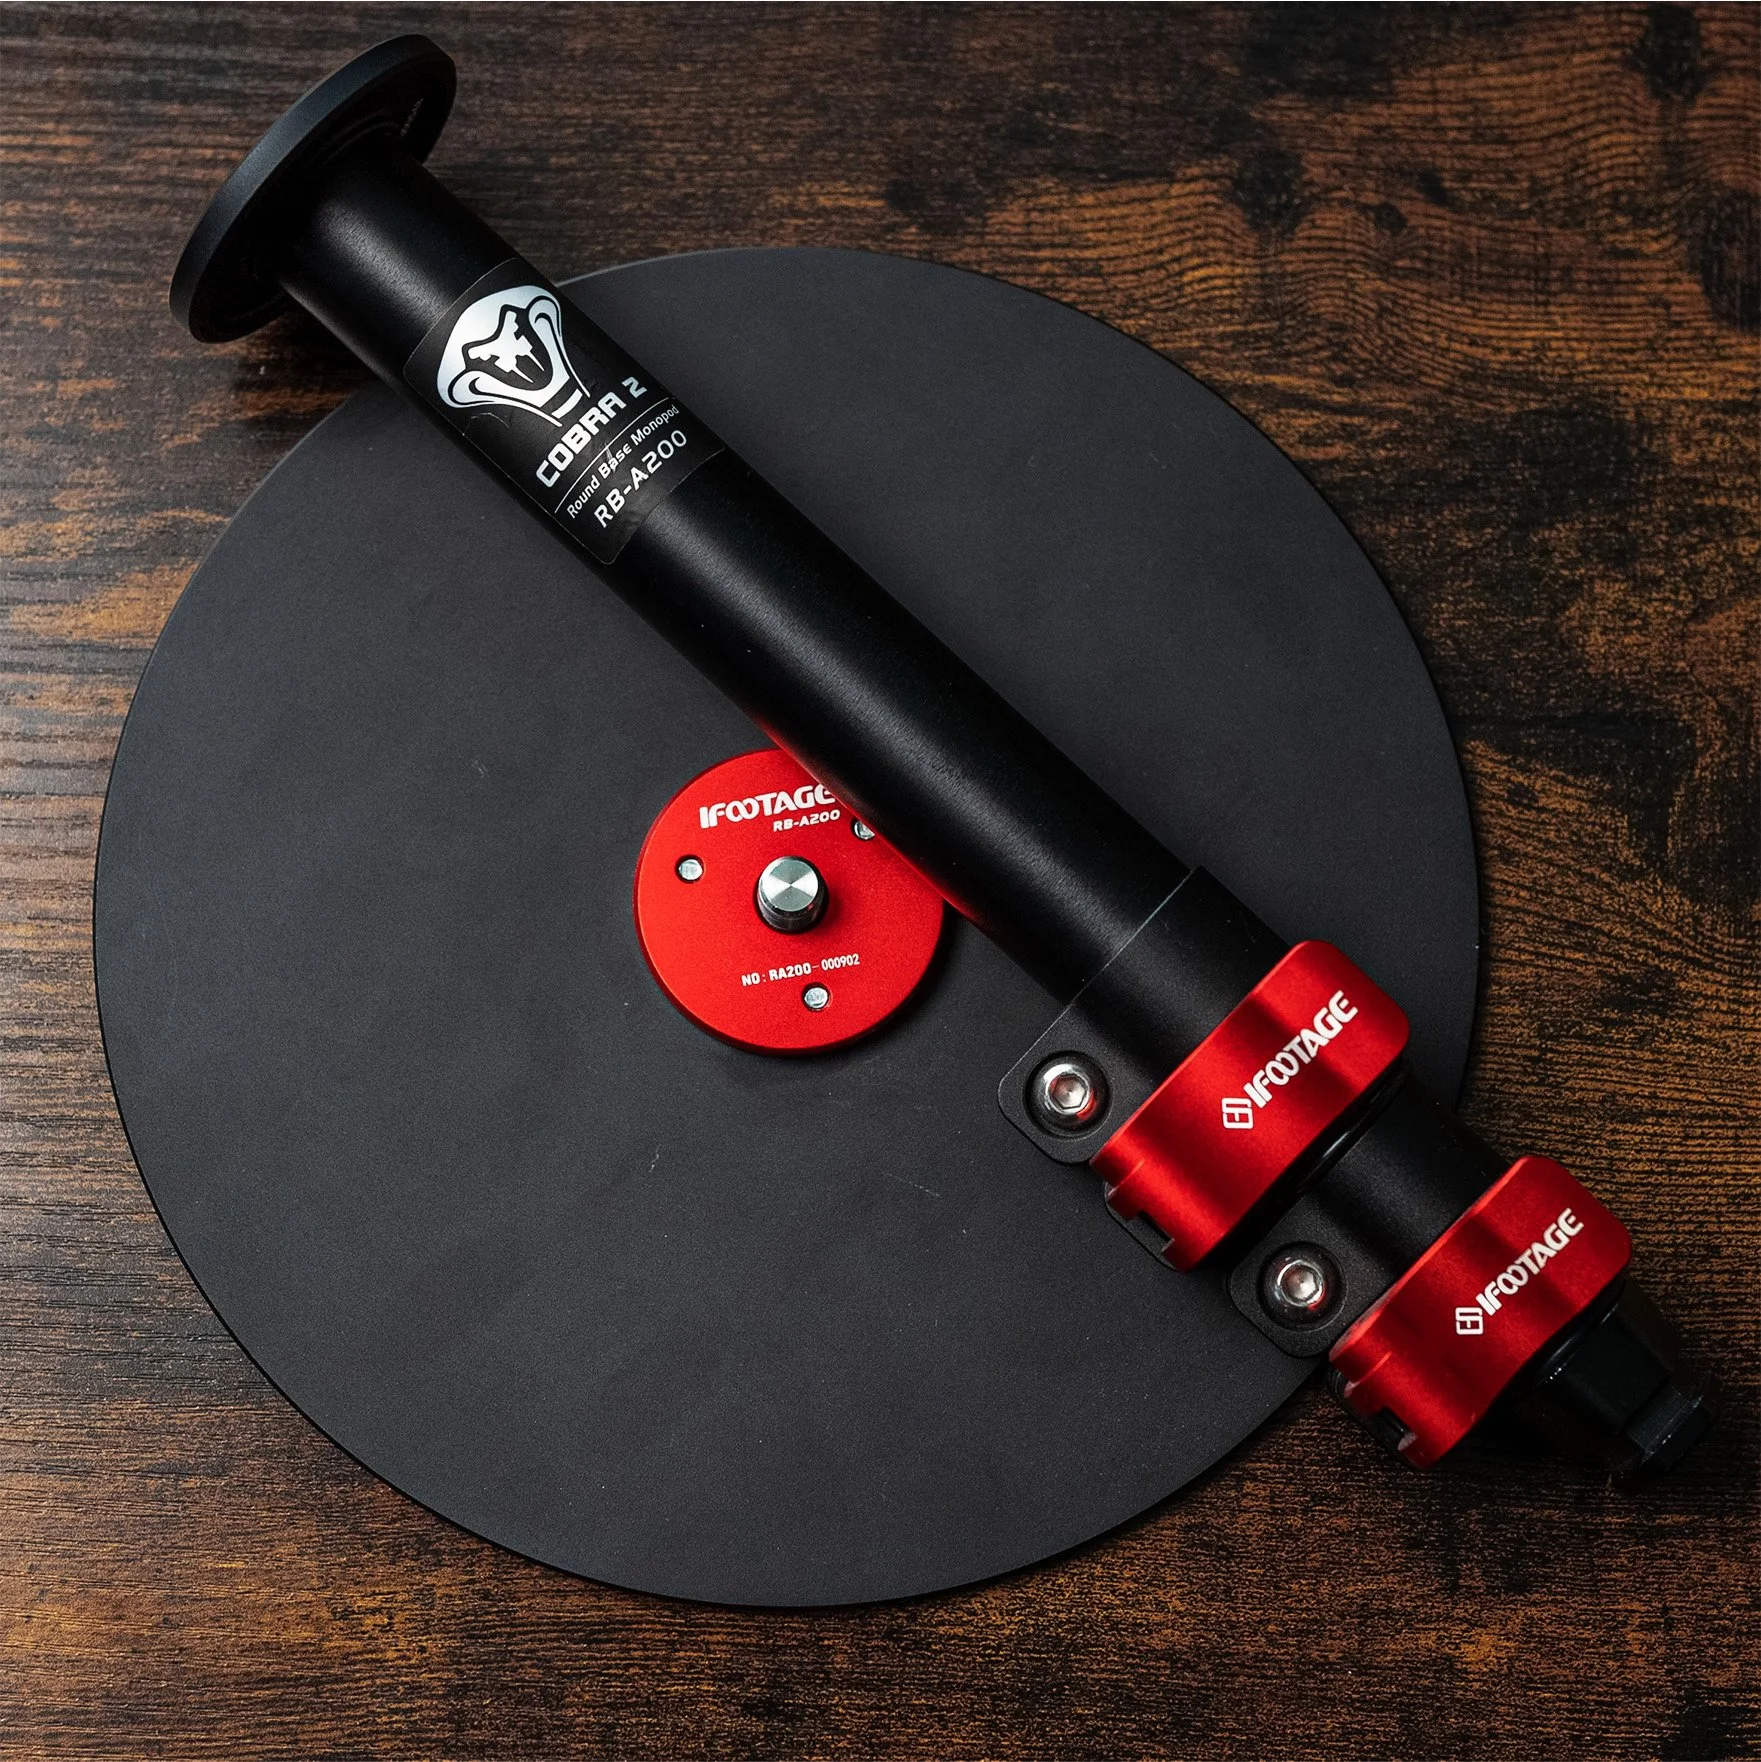
![]()
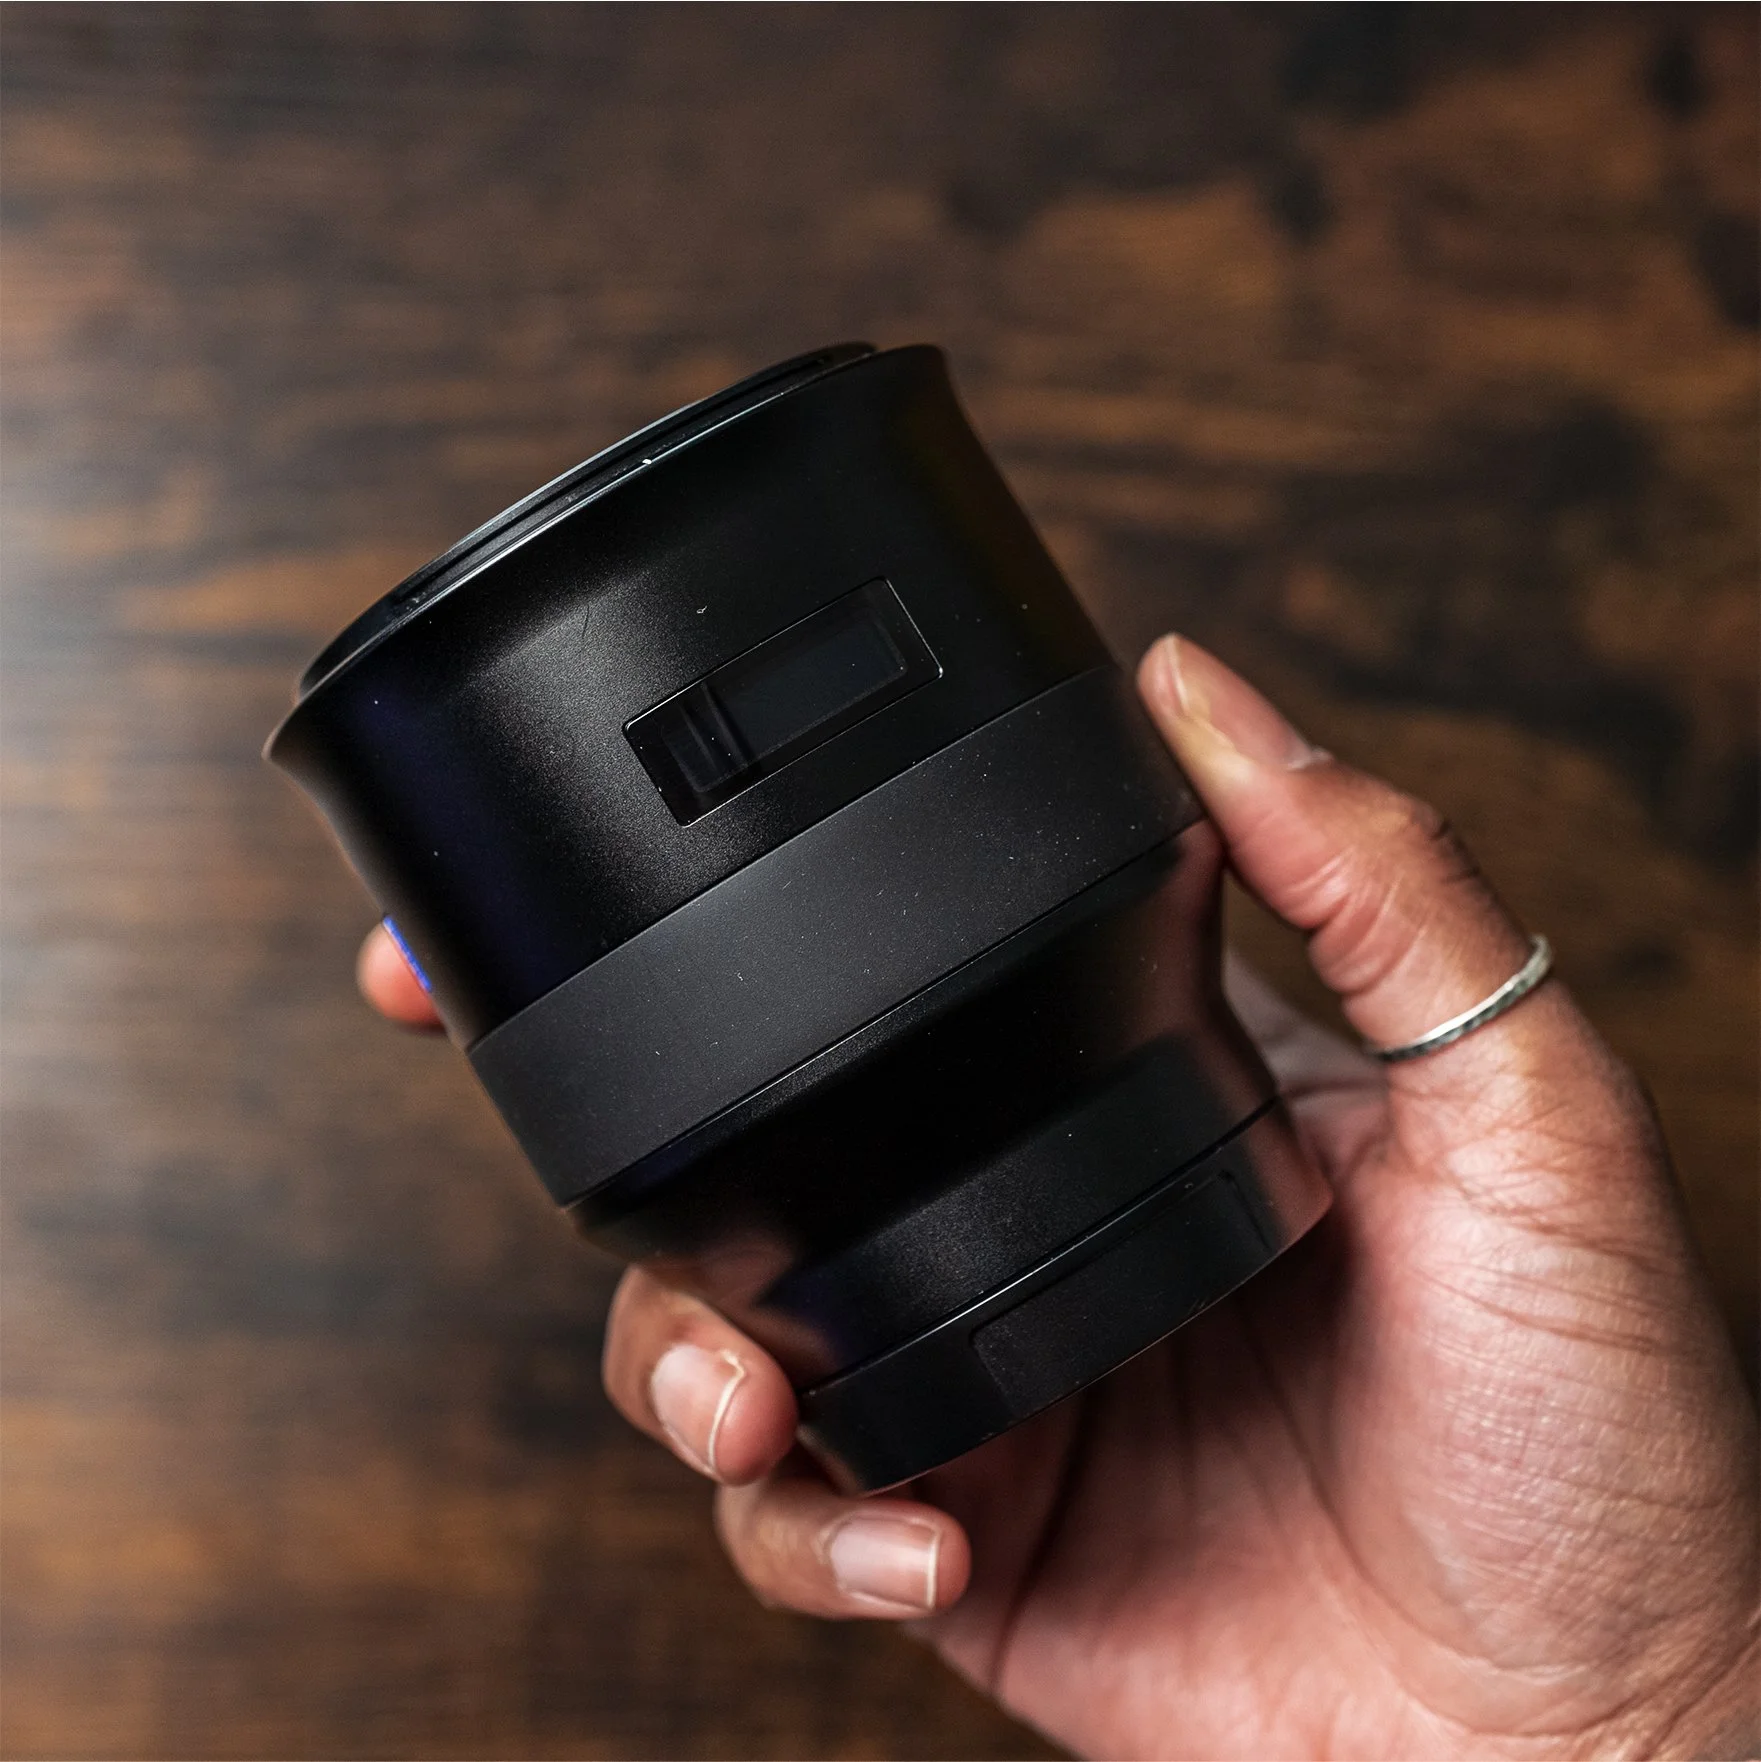
iFootage Round Base Monopod
-
![]()
Peak Design Carbon Fibre Tripod
-
![]()
Sony Wireless Remote
-
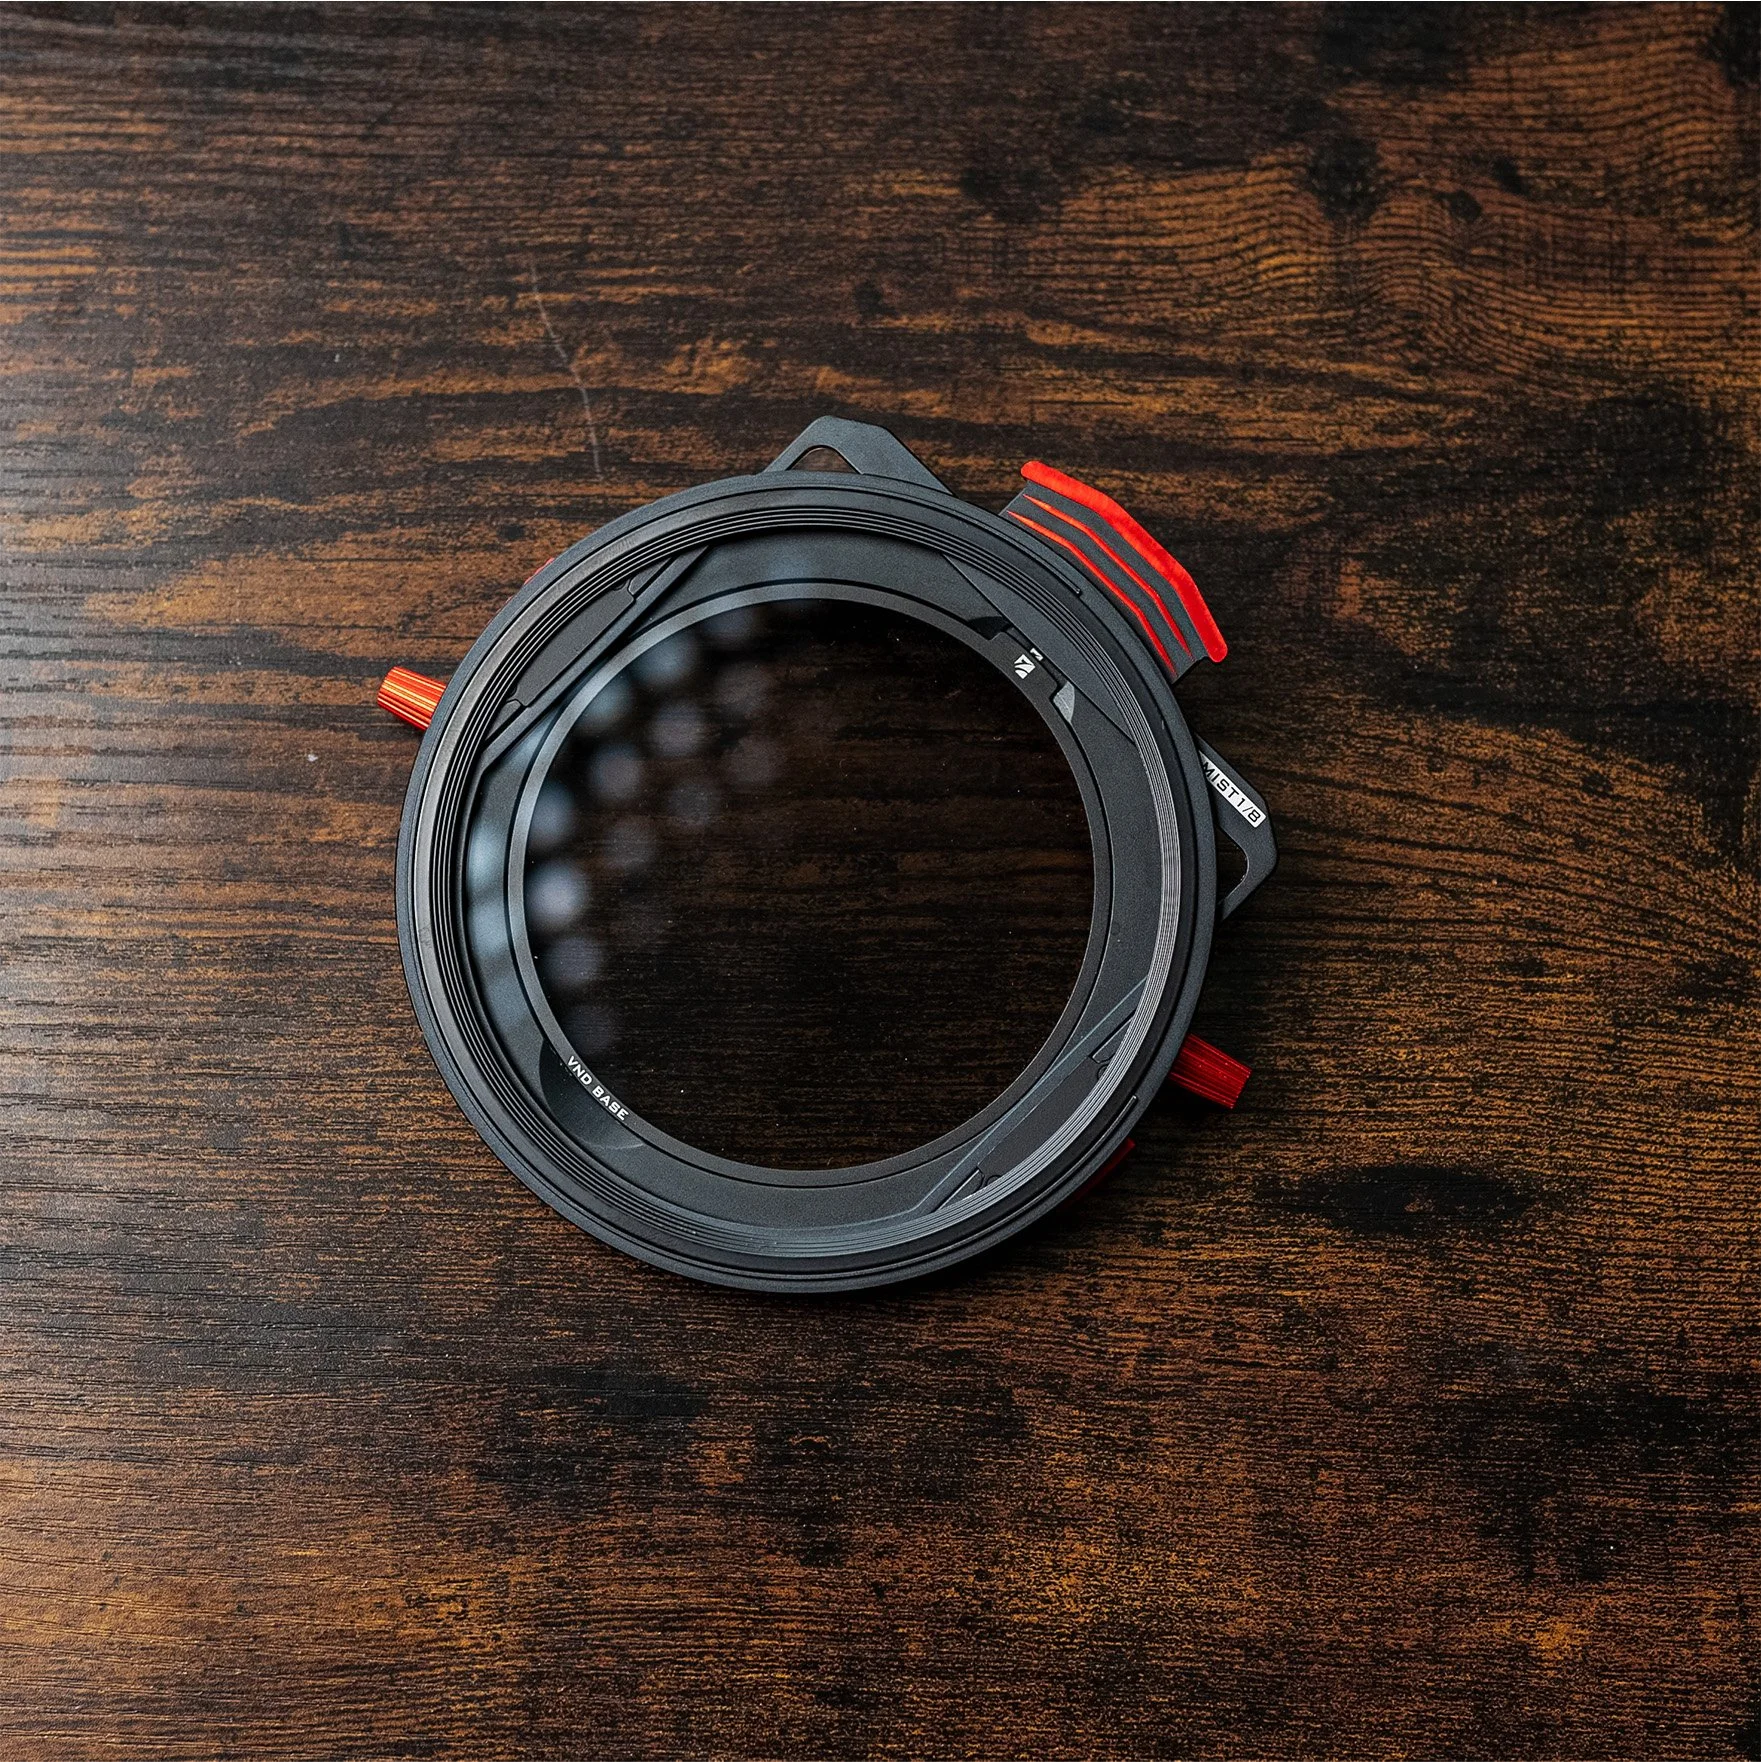
![]()
Freewell K2 Filter System
-
![]()
Sony 16-35mm GM Lens
-
![]()
ZEISS 40mm CF Batis Lens
-
![]()
Sony 24mm GM Lens
-
![]()
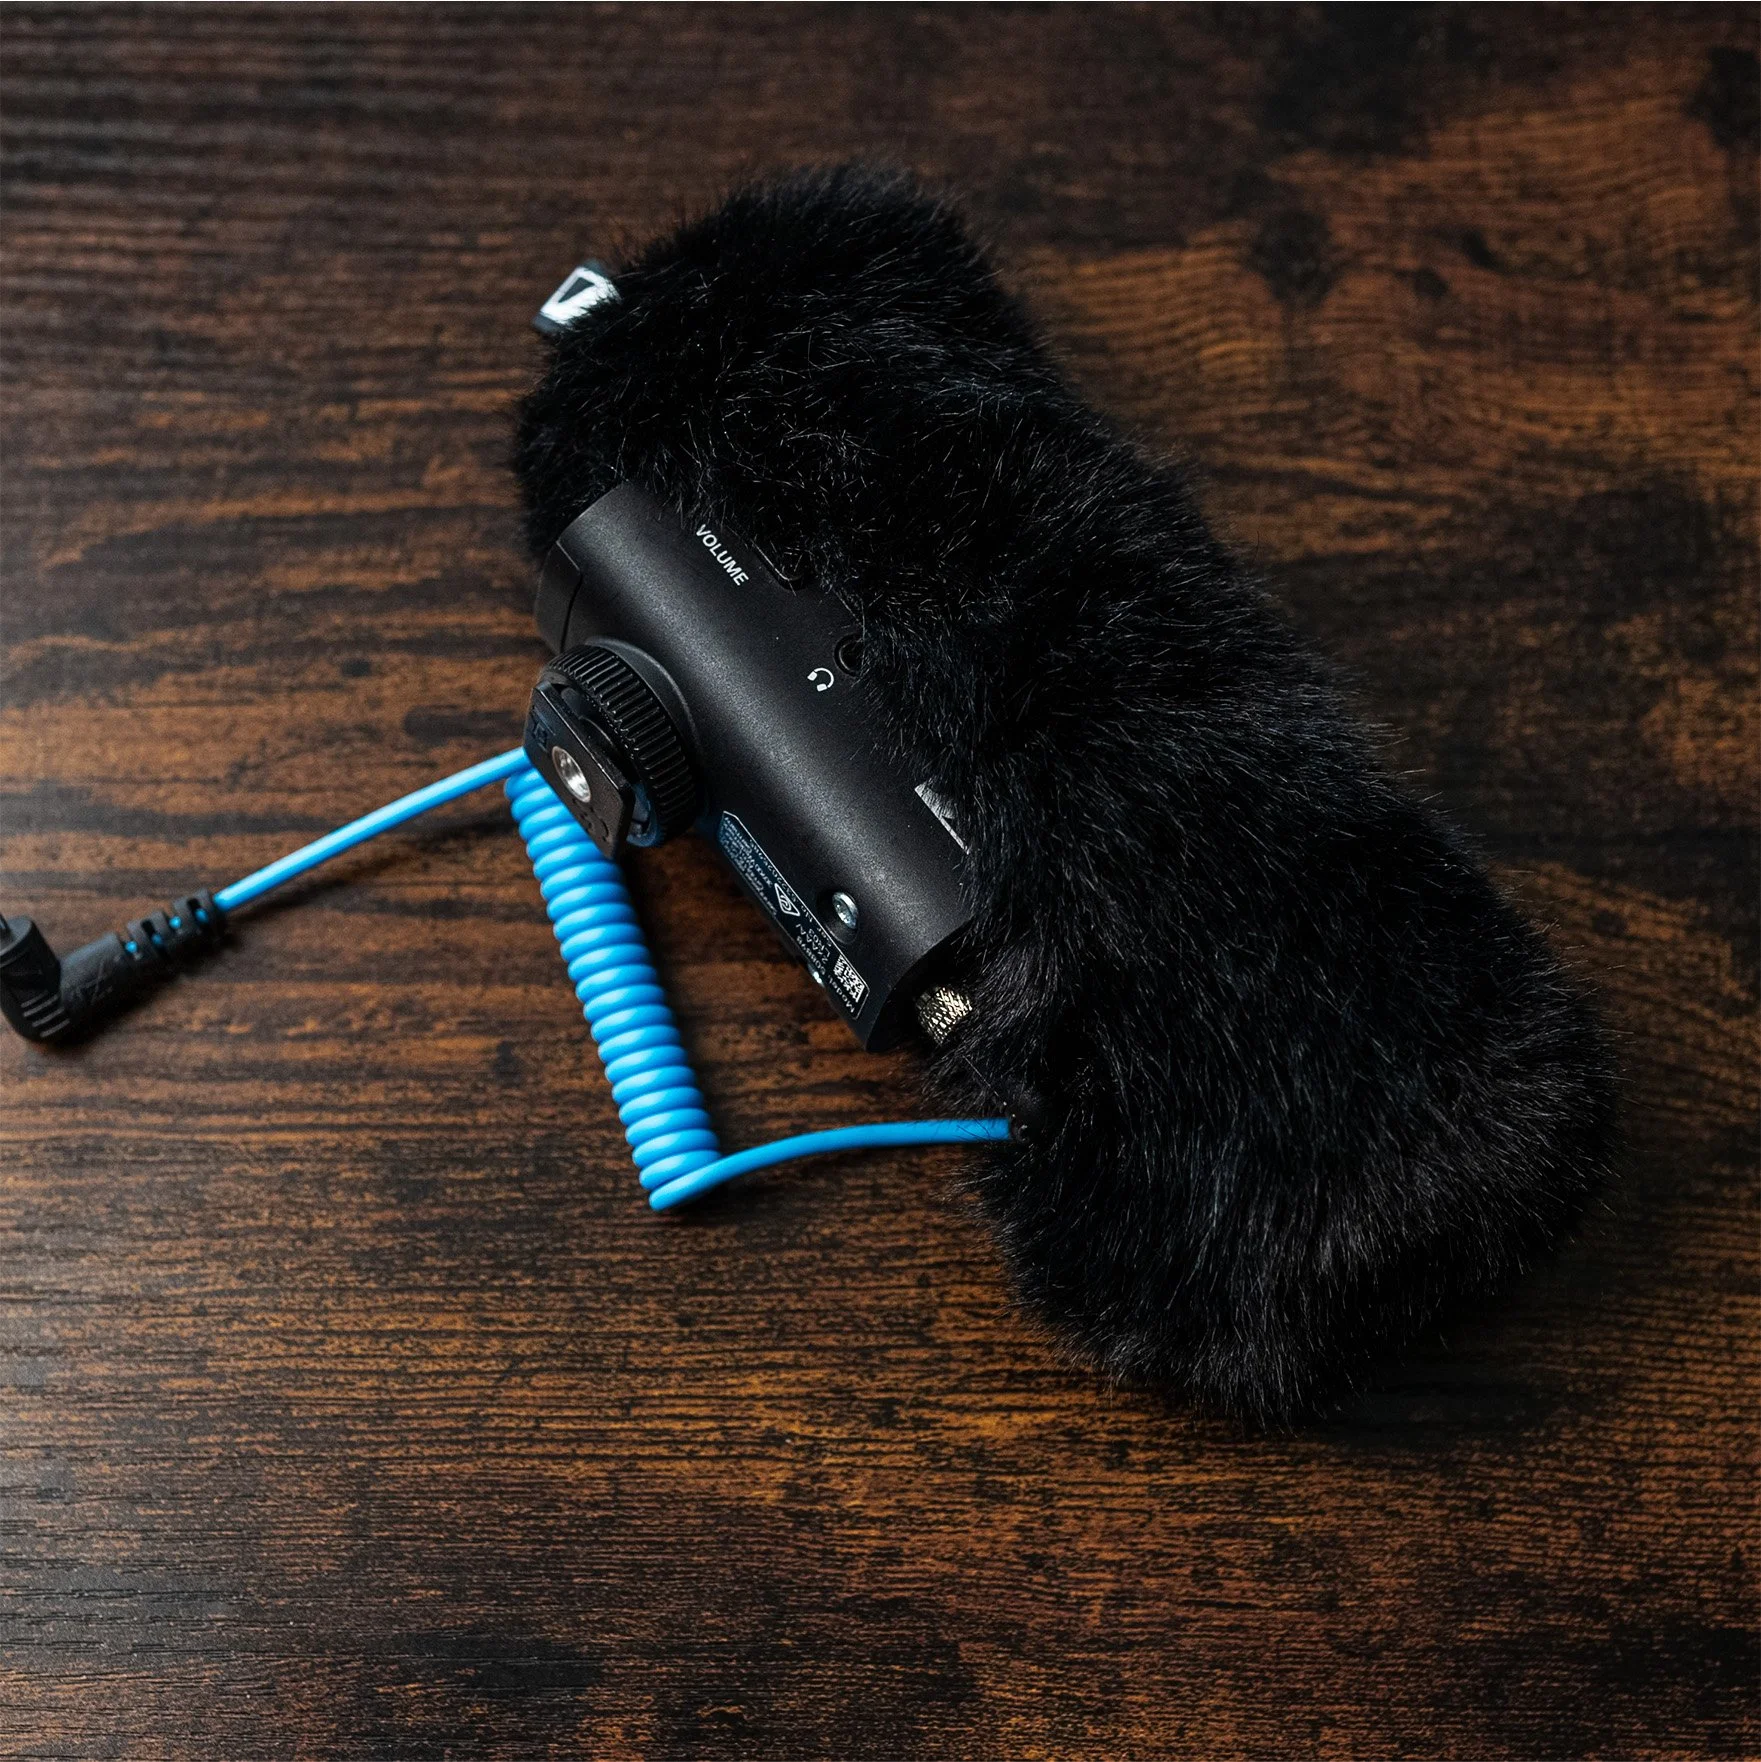
Shotgun Mic Sennheiser MKE 400
-
![]()
V-Mount Battery
-
![]()
V-Mount Battery Adapter Plate


WHAT I USE IN THE EDIT
MY FAVOURITE GO-TO-EDITING TOOLS
-

Colour Grading - 10% Off
FilmConvert Nitrate is my absolute go-to when colour grading my footage. I’ve been using it for years. It’s a film emulation suite that gives your footage a classic film look; you can fine-tune it exactly to your taste.
Coupon code: TAMARAG
-

Sensor Matching - 10% Off
CineMatch is a great tool for colour correcting your footage but the real benefit of CineMatch is its Sensor Matching Technology. Great if you film with multiple cameras and need to make the footage look the same.
Coupon code: TAMARAG
-

Motion Graphics - 10% Off
MotionVFX has some of THE best motion graphics when it comes to getting a high-quality look in your videos; from titles to transitions, there’s literally everything you need.
Coupon code: TAMARA10
-
Music Licensing- 2 Months Free
I use Artlist for most of my videos these days, it’s a great site where you can get licensed music for your projects and YouTube videos, and they have an impressive library of sound effects.
Click below to get your discount.